Custom form handling with Cloudflare Workers and D1

Every time I’ve had to build a contact form I’ve found myself taking a slightly different approach. Contact forms aren’t the most exciting thing to work on, but they’re the final step for anyone who’s decided to reach out—which makes them worth the extra time to get right.
Most people just hook the form up to a transactional email service and call it a day, but this has its downsides—it effectively becomes a door for bots to trigger emails with arbitrary content, damaging your sender reputation. Sure, you can throw in a CAPTCHA, but who likes picking out fire hydrants in a 3x3 grid?
For these reasons, some folks have given up on contact forms entirely and instead just display a big mailto: link. But that invites a never-ending stream of spam, and those links don’t reliably open a mail client anyway.
As an alternative way of approaching this problem, I had the idea of using NLP to analyse form submissions asynchronously to detect spam, which moves the solution out of the user flow. I was already running my new Astro portfolio site on Cloudflare Workers, so Workers AI caught my eye for handling the inference—and it gave me an excuse to dig deeper into what the rest of the ecosystem has to offer.
To store the form submissions, I decided to use D1, Cloudflare’s managed SQL database. I also built a simple dashboard for viewing them, protected by Cloudflare Access, and wired up push notifications via Pushover so I know the moment a new one comes in.
The shape of the solution
At a high level, there are three pieces:
- The contact form on my Astro website. Submissions are handled by an Astro action, which validates the form fields and saves the data to a database.
- A D1 database for storing the submissions.
- A dashboard behind Cloudflare Access for viewing submissions.
I decided to put the dashboard in its own worker so it deploys independently from the Astro site. The repo has two top-level directories, /site and /dashboard, managed as a pnpm workspace monorepo. Each worker runs with its own dev command.
I put the code for saving the form submissions to the database within the Astro codebase (/site). Placing this in a separate worker and calling it via a service binding would also work well for this. It comes down to a balance between separation of concerns and coupling. In my case, saving a form submission is simple enough that a separate worker isn’t worth it—but if I added more forms to the site down the line, I’d probably revisit that decision.
Setting up the project
Start by scaffolding the two workers and a pnpm workspace:
mkdir cf-contact-form
cd cf-contact-form
git init
pnpm create cloudflare@latest dashboard --type hello-world --lang ts
pnpm create cloudflare@latest site --framework=astro
Create a pnpm-workspace.yaml at the root:
packages:
  - 'dashboard'
  - 'site'
Then create the D1 database:
pnpm --filter site exec wrangler d1 create contact-form-db
This will output a database ID. Keep a note of this, as you’ll need it later for the Wrangler configuration in both workers.
The database
The database itself is tiny: a single messages table. Each row is one submission. Create a schema.sql file at the root of the project:
CREATE TABLE messages (
  id INTEGER PRIMARY KEY AUTOINCREMENT,
  name VARCHAR(100) NOT NULL,
  email VARCHAR(255) NOT NULL,
  message VARCHAR(2000) NOT NULL,
  created_at TIMESTAMP DEFAULT CURRENT_TIMESTAMP
);
The id and created_at fields are populated automatically when inserting a row, which keeps things simple.
We’ll use this schema.sql file later to set up both the remote and local databases.
Configuring the workers
Both workers need a D1 database binding. Add the following to each worker’s wrangler.jsonc (site/wrangler.jsonc and dashboard/wrangler.jsonc), replacing <YOUR_DATABASE_ID> with the ID from the d1 create command that you ran earlier:
"d1_databases": [
  {
    "binding": "DB",
    "database_name": "contact-form-db",
    "database_id": "<YOUR_DATABASE_ID>"
  }
]
Then generate the TypeScript types for both workers:
pnpm --filter site exec wrangler types
pnpm --filter dashboard exec wrangler types
Because both workers share the same D1 database, the dashboard can read the rows that the website worker inserted without any network calls or APIs in between. One caveat is when running the dev server, I had to configure both workers to use the same directory for the local D1 server.
To achieve this, add the persistState option to the Cloudflare adapter in site/astro.config.mjs:
import { defineConfig } from 'astro/config'
import cloudflare from '@astrojs/cloudflare'

export default defineConfig({
  output: 'server',
  adapter: cloudflare({
    persistState: {
      path: '../.wrangler/state',
    },
  }),
})
And add the --persist-to flag to the dashboard’s dev script in dashboard/package.json:
{
  "scripts": {
    "dev": "wrangler dev --persist-to ../.wrangler/state"
  }
}
Both resolve to the same .wrangler/state directory at the project root.
After configuring the shared state, apply the schema to both remote and local databases:
pnpm --filter site exec wrangler d1 execute contact-form-db --file=../schema.sql --local --persist-to=../.wrangler/state
pnpm --filter site exec wrangler d1 execute contact-form-db --file=../schema.sql --remote
Note: although the Cloudflare adapter in the Astro config for site sets the local persistence directory, the Wrangler CLI needs --persist-to passed explicitly to match it.
Handling the submission
On the website side, the form itself is a regular HTML form on the contact page. When the user hits submit, the form data gets sent to an Astro action. Actions are Astro’s way of writing type-safe server functions. You define the inputs you expect, and Astro validates them for you before your code ever runs. If any field is missing or too long, the action returns an error which we can display next to the relevant field.
Here’s the full action at site/src/actions/index.ts:
import { defineAction, ActionError } from 'astro:actions'
import { z } from 'astro/zod'
import { env } from 'cloudflare:workers'

function isValidId(id: unknown): id is number {
  return typeof id === 'number' && Number.isInteger(id)
}

const submissionFailed = () => {
  return new ActionError({
    code: 'INTERNAL_SERVER_ERROR',
    message: 'Failed to send your message. Please try again later.',
  })
}

export const server = {
  contactForm: defineAction({
    accept: 'form',
    input: z.object({
      name: z
        .string({ message: 'Name is required' })
        .min(1, 'Name is required')
        .max(100, 'Name must be 100 characters or less'),
      emailAddress: z
        .email({ message: 'A valid email is required' })
        .max(255, 'Email must be 255 characters or less'),
      message: z
        .string({ message: 'Message is required' })
        .min(1, 'Message is required')
        .max(2000, 'Message must be 2000 characters or less'),
    }),
    handler: async (input) => {
      if (!env.DB) {
        console.error('DB binding is undefined')
        throw submissionFailed()
      }

      const query = `
        INSERT INTO messages (name, email, message)
        VALUES (?, ?, ?)
        RETURNING id`

      let insertedId: number | null = null

      try {
        const { success, results } = await env.DB.prepare(query)
          .bind(input.name, input.emailAddress, input.message)
          .run()

        const resultId = results?.[0]?.id

        if (!success || !isValidId(resultId)) {
          console.error('DB insert failed')
          throw submissionFailed()
        }

        insertedId = resultId
      } catch (error) {
        if (error instanceof ActionError) {
          throw error
        }
        if (error instanceof Error) {
          console.error('Unknown error during DB insert', error.message)
        }
        throw submissionFailed()
      }

      return { message: "Thanks! I'll get back to you soon." }
    },
  }),
}
The RETURNING id part gives me the ID of the newly inserted row without needing to make a separate query. I use this later to include a link to the submission in the Pushover notification.
If the insert fails for any reason, the action returns a friendly error message and the form shows it to the user. If it succeeds, the form is replaced with a small thank you message.
The contact form component
The form uses Astro’s built-in support for actions with form submissions. By setting the form’s action attribute to actions.contactForm and using method="POST", it works as a plain HTML POST—no client-side JavaScript required. Validation errors are rendered server-side using Astro.getActionResult() and isInputError().
Here’s the component at site/src/components/ContactForm.astro:
---
import { actions, isInputError } from 'astro:actions'

const result = Astro.getActionResult(actions.contactForm)
const inputErrors = isInputError(result?.error) ? result.error.fields : {}
---

{result && !result.error && <p>{result.data.message}</p>}

{result?.error && !isInputError(result.error) && <p>{result.error.message}</p>}

{
  !(result && !result.error) && (
    <form method="POST" action={actions.contactForm}>
      <div>
        <label for="name">Name</label>
        <input
          id="name"
          name="name"
          type="text"
          required
          maxlength={100}
          aria-invalid={Boolean(inputErrors.name)}
          aria-errormessage="name-error"
        />
        <p id="name-error">{inputErrors.name?.join(', ')}</p>
      </div>

      <div>
        <label for="emailAddress">Email</label>
        <input
          id="emailAddress"
          name="emailAddress"
          type="email"
          required
          maxlength={255}
          aria-invalid={Boolean(inputErrors.emailAddress)}
          aria-errormessage="emailAddress-error"
        />
        <p id="emailAddress-error">{inputErrors.emailAddress?.join(', ')}</p>
      </div>

      <div>
        <label for="message">Message</label>
        <textarea
          id="message"
          name="message"
          rows={6}
          required
          maxlength={2000}
          aria-invalid={Boolean(inputErrors.message)}
          aria-errormessage="message-error"
        />
        <p id="message-error">{inputErrors.message?.join(', ')}</p>
      </div>

      <button type="submit">Submit</button>
    </form>
  )
}
To keep this post focused, I decided not to get into the details of how I styled the form or the dashboard.
When adding this component to a page, ensure prerendering is disabled. An alternative to the server-side approach in the code above is to handle form submissions client-side by calling the action from a <script> tag in the Astro component, which works on prerendered pages.
There are three states to handle:
- Success:
resultexists with no error, so we show the thank-you message and hide the form. - Server error:
result.errorexists but is not an input error (e.g. the database is down), so we show the error message above the form. - Validation errors:
isInputError(result.error)is true, so we show per-field error messages next to each invalid field.
Getting notified
As well as storing the entry in the database, I send out a notification with Pushover. The notification includes the sender’s name and email, plus a direct link to the message in the dashboard.
Pushover is a cheap service for sending notifications to various devices. They provide a REST API for sending notifications.
This requires two environment variables: your Pushover app token and user key. For local development, create a site/.dev.vars file:
PUSHOVER_APP_TOKEN=your_token_here
PUSHOVER_USER_KEY=your_key_here
For production, set these as secrets with wrangler secret put.
Then add the following to the action handler, after the successful database insert:
if (!env.PUSHOVER_APP_TOKEN || !env.PUSHOVER_USER_KEY) {
  console.warn(
    'PUSHOVER_APP_TOKEN and/or PUSHOVER_USER_KEY environment variables not configured'
  )
} else {
  const messageData = {
    token: env.PUSHOVER_APP_TOKEN,
    user: env.PUSHOVER_USER_KEY,
    title: 'New contact form submission',
    message: `From ${input.name} (${input.emailAddress})`,
    url: `https://dashboard.example.com/${insertedId}`,
    url_title: 'View message',
  }

  try {
    const response = await fetch('https://api.pushover.net/1/messages.json', {
      method: 'POST',
      headers: { 'Content-Type': 'application/json' },
      body: JSON.stringify(messageData),
    })

    if (!response.ok) {
      const data = await response.json()
      console.error('Failed to send Pushover notification:', data)
    }
  } catch (error) {
    console.error('Error sending Pushover notification:', error)
  }
}
Replace https://dashboard.example.com/ with the URL your dashboard worker will be deployed to, so the notification link points to the right place.
If the secrets aren’t configured or the Pushover API call fails for any reason, the issue is logged but not surfaced to the user. The database insert has already succeeded by this point, so the submission is safely recorded.
The dashboard
The dashboard is a separate Cloudflare Worker that reads from the same D1 database. It has two pages: a list of all messages, and a detail page for each one.
I used Hono for the routing and hono/jsx-renderer for the templating, which also safely escapes the values from the form submissions.
Install Hono in the dashboard worker:
pnpm --filter dashboard add hono
Enable JSX in dashboard/tsconfig.json:
{
  "compilerOptions": {
    "jsx": "react-jsx",
    "jsxImportSource": "hono/jsx"
  }
}
Then rename dashboard/src/index.ts to dashboard/src/index.tsx and replace its contents with the following. Update the main field in dashboard/wrangler.jsonc to point at the new filename too.
import { Hono } from 'hono'
import { jsxRenderer } from 'hono/jsx-renderer'
const app = new Hono<{ Bindings: Env }>()
app.use(
'*',
jsxRenderer(({ children, title }) => (
<html lang="en">
<head>
<meta charset="utf-8" />
<meta name="viewport" content="width=device-width, initial-scale=1" />
<title>{title}</title>
</head>
<body>{children}</body>
</html>
))
)
app.get('/', async (c) => {
const { results } = await c.env.DB.prepare(
'SELECT id, name, email, created_at FROM messages ORDER BY id DESC'
).all<{
id: number
name: string
email: string
created_at: string
}>()
return c.render(
<>
<h1>Messages</h1>
<table>
<tr>
<th>ID</th>
<th>Name</th>
<th>Email</th>
<th>Date</th>
<th></th>
</tr>
{results.map((row) => (
<tr>
<td>{row.id}</td>
<td>{row.name}</td>
<td>{row.email}</td>
<td>{row.created_at}</td>
<td>
<a href={`/${row.id}`}>View</a>
</td>
</tr>
))}
</table>
</>,
{ title: 'Messages' }
)
})
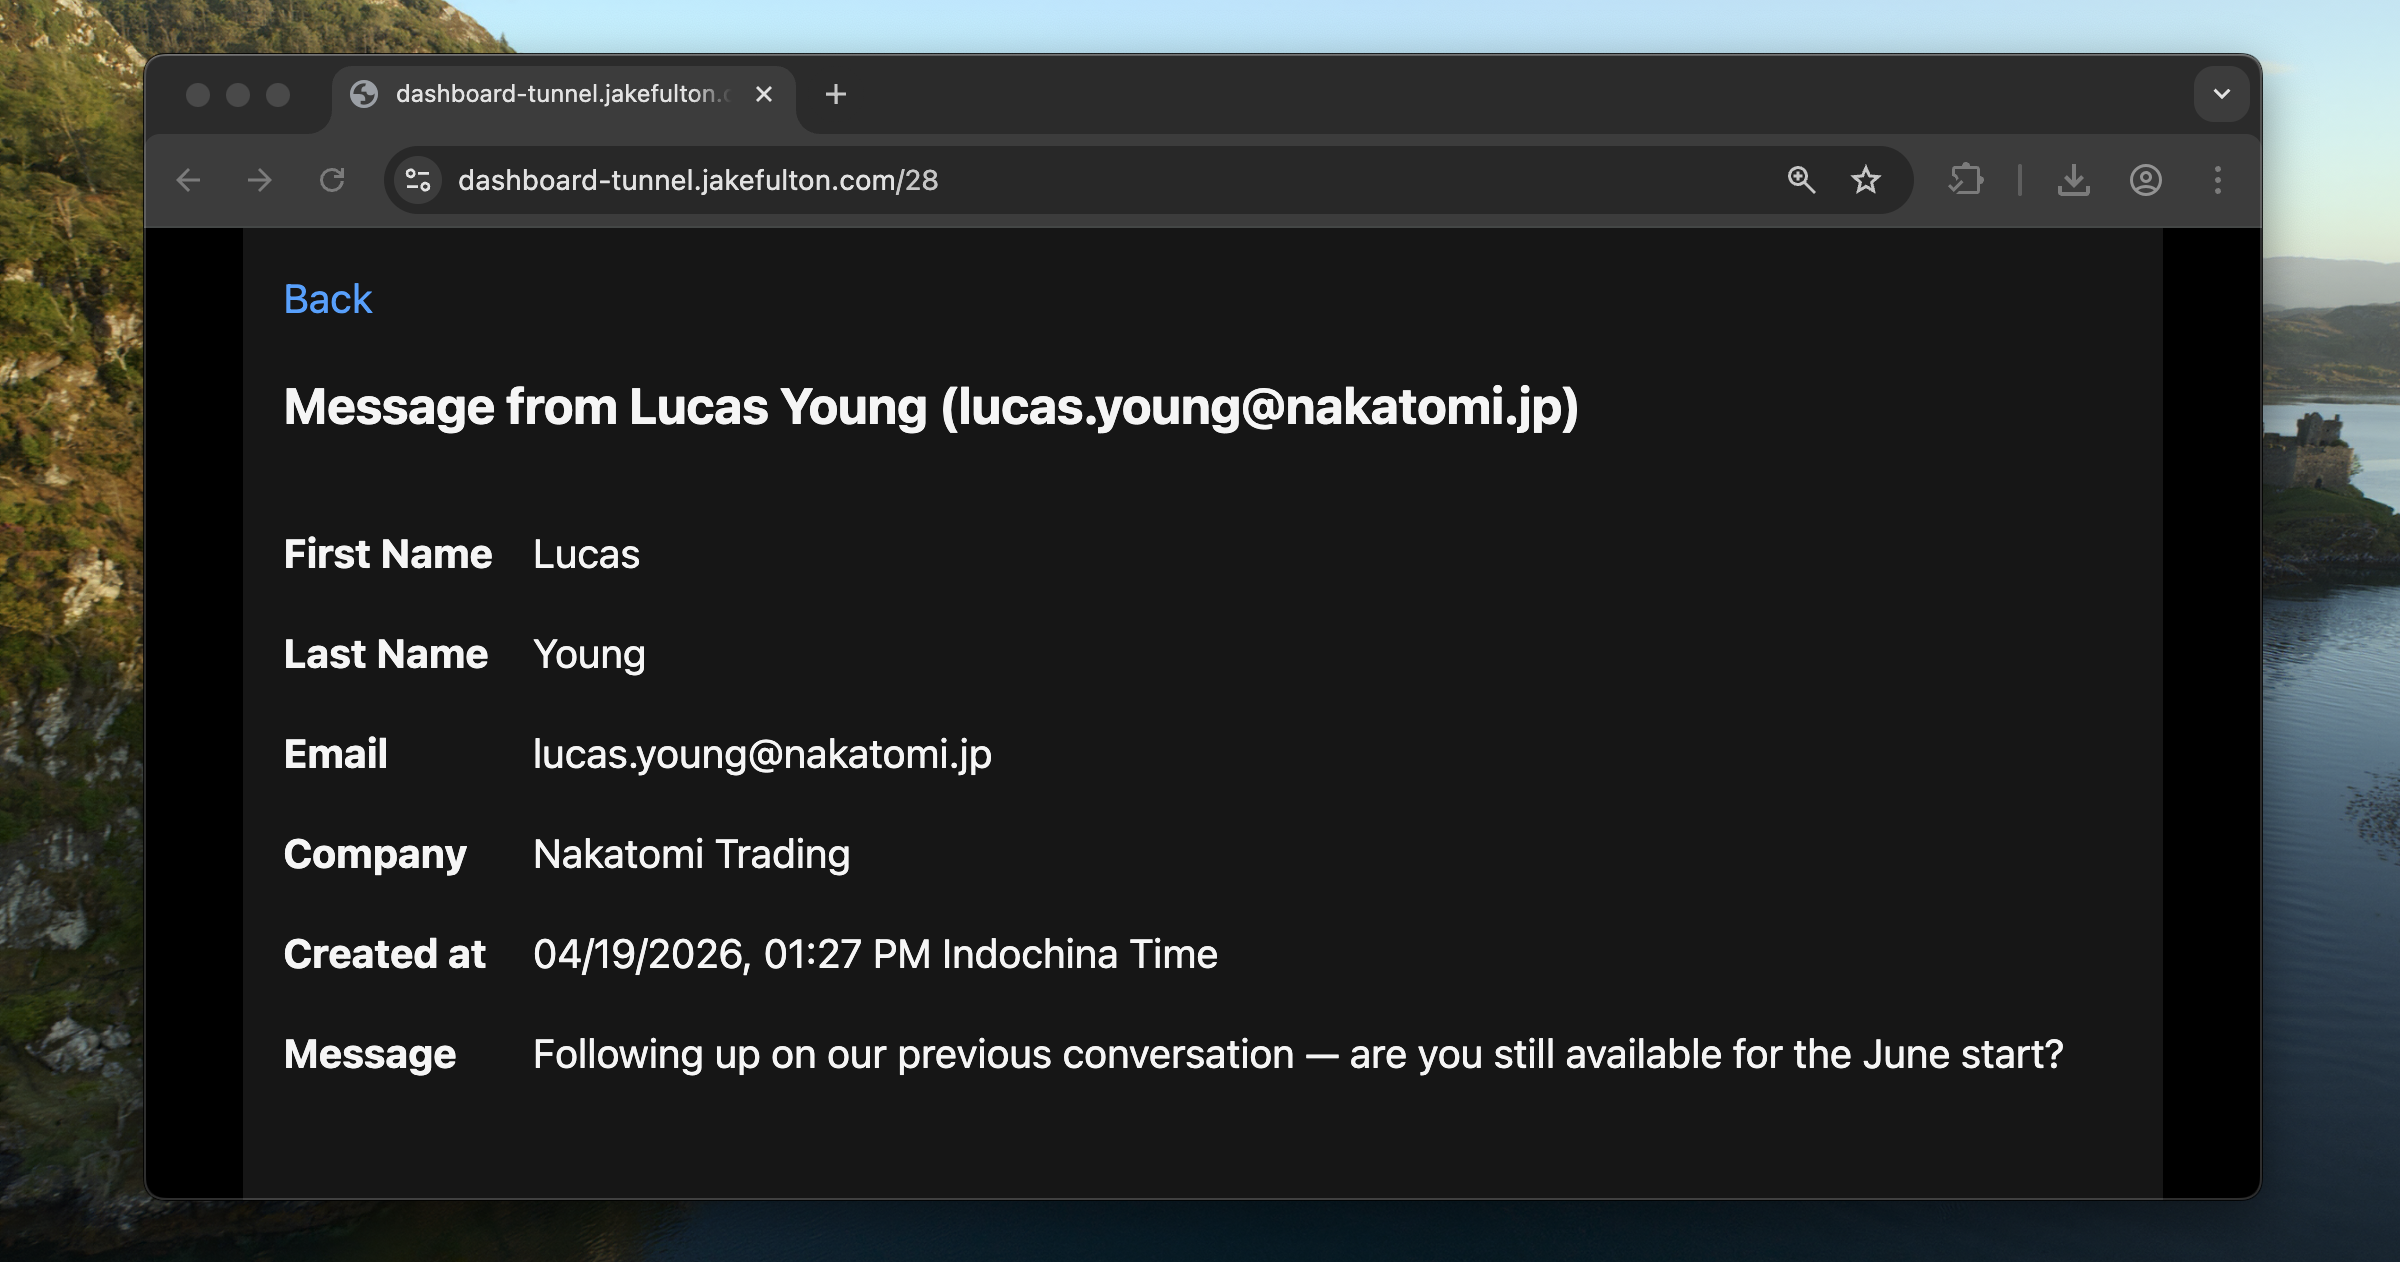
app.get('/:id{\\d+}', async (c) => {
const message = await c.env.DB.prepare('SELECT * FROM messages WHERE id = ?')
.bind(Number(c.req.param('id')))
.first<{
id: number
name: string
email: string
created_at: string
message: string
}>()
if (!message) return c.notFound()
return c.render(
<>
<h1>Message #{message.id}</h1>
<p>
<strong>From:</strong> {message.name}
</p>
<p>
<strong>Email:</strong> {message.email}
</p>
<p>
<strong>Date:</strong> {message.created_at}
</p>
<p>
<strong>Message:</strong>
</p>
<p>{message.message}</p>
<a href="/">Back to list</a>
</>,
{ title: `Message #${message.id}` }
)
})
export default app satisfies ExportedHandler<Env>
The jsxRenderer middleware defines a shared layout that wraps every page. Each route then calls c.render() with just the page-specific content plus any props the layout needs—in this case, the <title>.
Then run both dev servers:
pnpm --filter site dev
pnpm --filter dashboard dev
Securing the dashboard
The dashboard is obviously not something I want anyone on the internet to be able to access. Rather than building my own login system, I put the whole worker behind Cloudflare Access, which is part of Cloudflare One—Cloudflare’s SASE platform.
The way Cloudflare Access works is: you define a policy that says “only these email addresses can reach this URL.” When someone visits the dashboard, Cloudflare intercepts the request, makes them sign in, and only forwards the request to the worker if they’re on the allow-list. When it does forward the request, it attaches a signed JWT (a kind of cryptographic stamp) to the headers.
On the worker side, I verify the JWT on every request using Cloudflare’s public keys, to confirm the request passed through Access. If it’s missing or invalid, the worker returns a 403.
To implement this, first install the jose library in the dashboard worker:
pnpm --filter dashboard add jose
Then add two environment variables to dashboard/wrangler.jsonc: your Cloudflare Access team domain and the policy audience tag (you’ll find these in the Zero Trust dashboard under Access > Applications):
{
  "vars": {
    "TEAM_DOMAIN": "https://your-team.cloudflareaccess.com",
    "POLICY_AUD": "your-policy-audience-tag"
  }
}
Now add a Hono middleware to dashboard/src/index.tsx that verifies the JWT before any route handler runs. The createRemoteJWKSet function fetches Cloudflare’s public keys, and jwtVerify validates the token’s signature, issuer, and audience in one call:
import { Hono } from 'hono'
import { jsxRenderer } from 'hono/jsx-renderer'
import { jwtVerify, createRemoteJWKSet } from 'jose'

const app = new Hono<{ Bindings: Env }>()

app.use('*', async (c, next) => {
  if (!c.env.POLICY_AUD) {
    return c.text('Missing required audience', 403)
  }

  const token = c.req.header('cf-access-jwt-assertion')

  if (!token) {
    return c.text('Missing required CF Access JWT', 403)
  }

  try {
    const JWKS = createRemoteJWKSet(
      new URL(`${c.env.TEAM_DOMAIN}/cdn-cgi/access/certs`)
    )

    await jwtVerify(token, JWKS, {
      issuer: c.env.TEAM_DOMAIN,
      audience: c.env.POLICY_AUD,
    })
  } catch (error) {
    const message = error instanceof Error ? error.message : 'Unknown error'
    return c.text(`Invalid token: ${message}`, 403)
  }

  await next()
})

// ... jsxRenderer middleware and route handlers
The JWT verification runs before any database queries or HTML rendering. If the token is missing, expired, or signed by the wrong key, the worker returns a 403 immediately and never touches the database.
Testing the Cloudflare Access flow locally
Cloudflare Access sits in front of the public hostname, so it can’t see requests to localhost. To exercise the full auth flow during development, I run a cloudflared tunnel that exposes the local dashboard worker on a public hostname. I’ve written up the setup in a separate post.
What’s next
In the next post, I will show you how to set up NLP to analyse the form submissions, and flag anything that looks like spam.